Getting started for wellspace creators
Looking for more information about creating a Wallit wellspace or managing your new wellspace? This guide is for you, and we’re glad you’re here!
Tip: If you're newer to Wallit, read What is Wallit? for a general overview of how things work. To join an existing wellspace, check out Getting started for new members.
Step 1: Create a wellspace
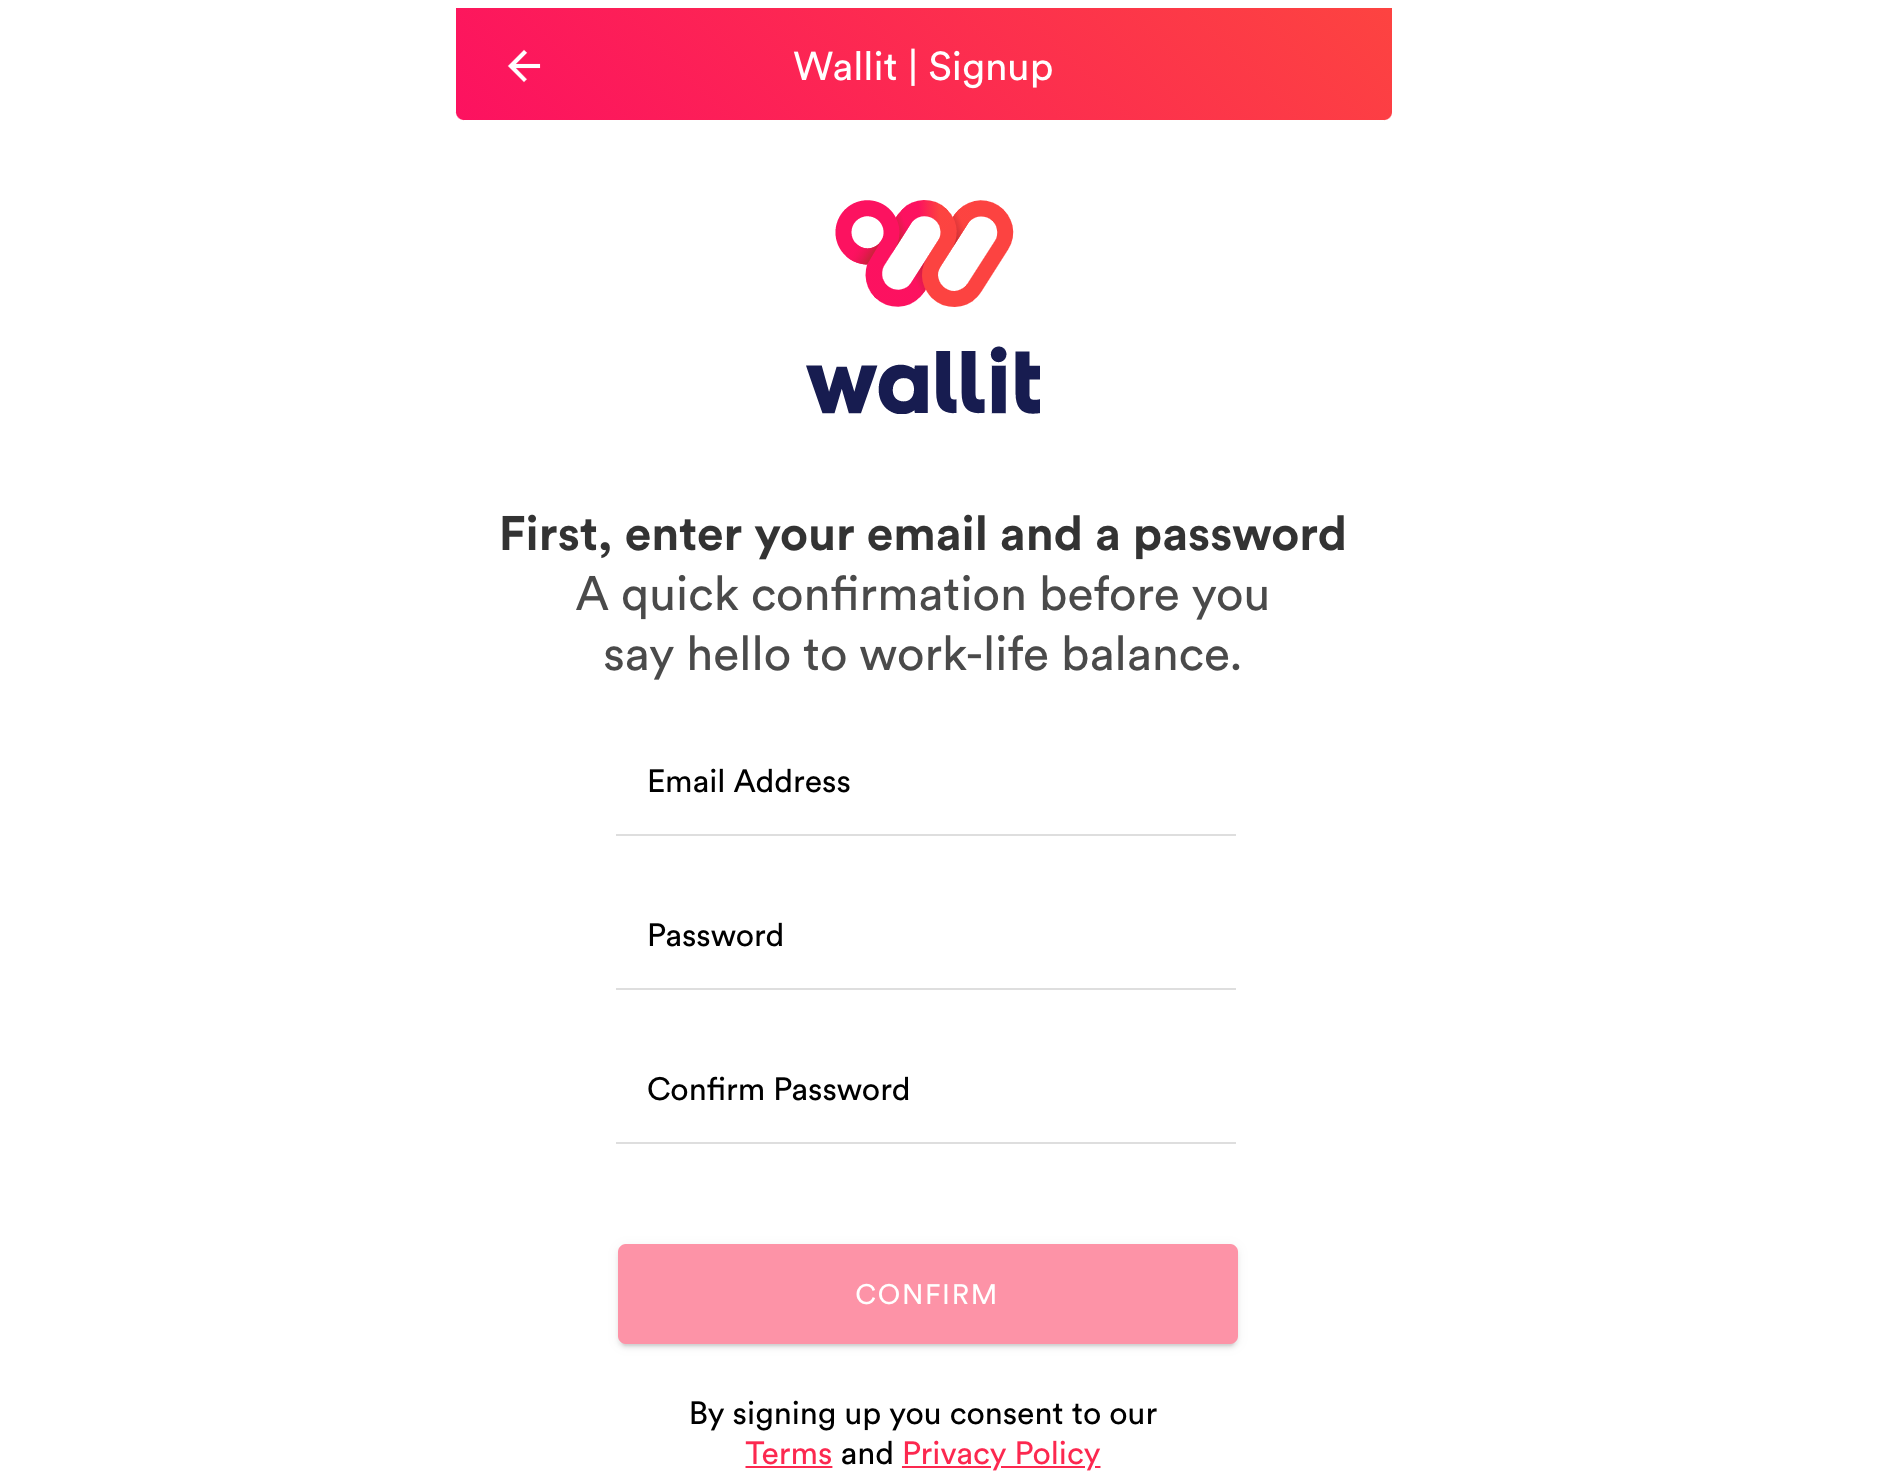
First, head to the Create a Wellspace page and enter your email address. We’ll walk you through each step, but you can visit Create a Wallit wellspace if you’d like step-by-step instructions to follow along with.

Congrats! You're now the Primary Owner of your wellspace. We’ll cover the basics of administering your new wellspace later in this guide, but first, you’ll want to finish getting yourself set up in Wallit:
- Add information to your profile
- Download the Wallit app for iOS and Android
Step 2: Link your debit card
Before inviting members to join your wellspace, we recommend getting familiar with how your wellspace's works. To connect your checking account and link your debit card, follow the steps below.
- Download the Wallit app. Or, from your desktop, go to my.wallit.app in your browser.
- Click the accounts tab in the bottom tab bar to open the Accounts section of your Wallit.

- Click the Add an Account button from the tab bar, then follow the steps to connect your account.
Your checking account is now connected and your debit card is linked!
Wallit will automatically reimburse you for your qualifying wellness purchases. Wallit will also automatically add cash back to your account when you spend with your linked debit card at participating retailers.
Besides offering free, automatic cashback, your personal Wallit account comes with access to several built-in saving and budgeting tools designed to help our users automate budgeting, set savings goals and track spending habits. One of those tools is called SmartBalance, which logs your debit cards spending and bill payment activity to give you a more accurate handle on what amount is safe to spend. You don’t have to do anything, but sign up and connect your checking account. Wallit’s real-time automatic budgeting is hands down one of the simplest and most effective ways to know how much money you have to spend at any given time.
Step 3: Wellspace setup
Now that you’ve reviewed your wellspace settings and permissions, it's time to build the foundation that will support your colleagues when they join Wallit.
Select benefit categories and allowance amount
Categories are what enables automatic cash back in your Wallit wellspace. A category is a grouping of products and services from retailers and brands that you can make qualifying benefit purchases in Wallit.
-
Select the benefit categories
Think about which categories best fit your team's culture and preferences. What purchases would help improve your team's work-life balance to make their lives simpler, more productive and more rewarding? What will help make your team happy, healthy, and energized? What will help them feel less frustrated juggling workplace stress with the daily pressures of family, friends, and self.
We recommend starting with a all six of the categories to get started. -
Choose your monthly reimbursement amount for new members
In Wallit, your giving your team a monthly allowance to spend on themselves. We recommend a dollar amount that fits your budget. You can change the categories and reimbursement amount at any time.
If there are other categories you want your team members to belong to, e.g., internet, mobile phone, pet care, you can add additional categories in our paid plan, Plus. .
Features on paid plans
You can use the free version of Wallit for as long as you’d like, but there are a number of additional features available on our paid plans. Here are some you might consider:
- Custom categories and allowances gives you the ability to add additional benefit categories and vary the amount of allowance to allocate to individuals, teams, entire departments or groups of people.
- Customize the Wallit Marketplace allows you to create a customized marketplace of brands and retailers for your team or company, including the ability to exclude specific brands and retailers. This feature is perfect for retail and hospitality companies who you might want more control over the benefits they reimburse for their teams.
- Real-time, advanced analytics provides more data and visualization tools to get a more panoramic and more ganular view of their organization wellness trends in a single Wallit wellspaces, or across their Enterprise.
Step 4: Invite members to your wellspace
Now that you’ve completed the basics to set up your wellspace, it’s time to bring your wellspace to life by inviting members to join.
Send an email invitation to welcome new members to your wellspace. You can use our email invite template for inspiration.
Invited members
When someone has been invited to your wellspace, but hasn't accepted their invitation and signed up for Wallit, an owner or admin can resend them the invite. The invited member will receive email notifications when this happens, and can send replies to Wallit via email.
Once an invited member accepts their invitation by signing up for a Wallit account, they'll see categories they were added to and the benefit reimbursement amount in Wallit so they can link their debit card to start receiving cash back and take advantage of other features.
Tip: Launching a new benefits program requires some coordination and teamwork. Visit Onboarding your company to Wallit for some ideas and tips.
Wallit
Where wellness happens.